

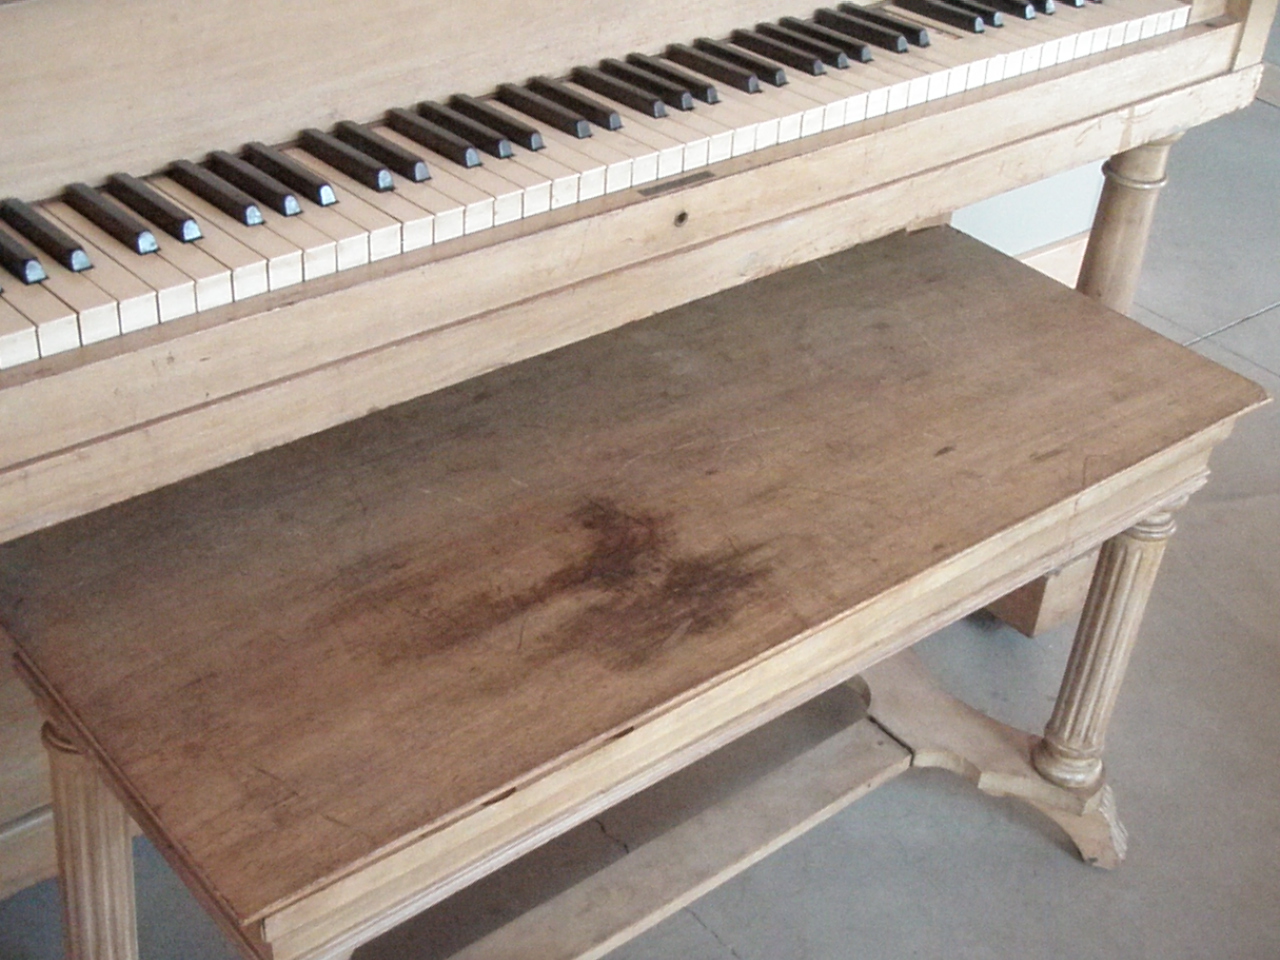
Although I absolutely love it, the bench is a little uncomfortable. Plus, it is slightly stained:
So, I set out to create an inexpensive cushion for the bench, both to make it a little more comfy and to pretty things up a bit. Here's how I did it.
I started with a piece of foam we've had kicking around. It could have been a little bit bigger, but it was pretty close, so I went with it!


Next, I found a scrap of paisley fabric that I knew would look fantastic. It wasn't quite big enough to cover the whole cushion, so I dug through my remnants and came up with a scrap of red linen to go with it:

Then I placed my paisley fabric right side down, put the foam on top up it, and traced around the edge of the foam:

Next I measured the depth of my foam and determined it was one inch thick.

I divided that inch in half and added a quarter inch for my seam allowance. Then I drew another line, this one three-quarters of an inch out from my first:

I used a light blue pen for marking on the paisley fabric because I didn't want any of the marks to show through to the other side.
Once I had my new rectangle drawn all the way around the first one, I cut out the paisley fabric and placed it on top of the red linen. Then I traced around the paisley rectangle so that I would end up with two rectangles that were the same size:

This time I used a Sharpie - both because it would be easier to see and because I didn't have to worry as much about the mark showing through. (I was only making one line this time, the line I was going to use as a guide for cutting.)
Now it was time to figure out a way to keep the cushion on the bench. I opted for a thin waxed cotton cord, but ribbon would work just as well for this purpose. I started by holding one end of my cord over an edge of the bench lid:

I held that in place as I stretched the cord down the underside of the lid. I cut it the cord when it reached the opposite edge of the lid.

I repeated this procedure until I had four pieces of cord, all the same length.
Now I was ready to assemble my cushion cover. I placed my two fabric pieces together, right sides facing each other:

I pinned the two pieces of fabric together, and then inserted the cord pieces between them. I just eye-balled the placement of the cords, placing two on each side of the rectangle sandwich. I tried to get each cord to line up with its mate on the opposite side of the rectangle. I also left a little bit of cord sticking out and used a pin to hold each piece in place:

Okay, now the fun part! I sewed around the edge of the fabric, about a quarter inch from the edge:

Each time I reached a piece of cord, I did a little back stitching for extra strength:

I left an opening at one short end of my rectangle for my foam to go into later. The opening is marked by the red pins in this photo:

(That opening, incidentally, later turned out to be too small, so ended up having to rip it out a little. Not too big of a deal!)
Once I was done sewing around the edges of my rectangles, I turned the cover right side out and inserted the foam through my (now adequately sized) opening:

Then, I used my fingers to finesse the fabric around the opening into neat little folds and pinned them into place.

At this point, thing got a little tricky. I used my machine to close up this opening:

This was somewhat of an acrobatic act, with me standing and holding one end of the cushion up in the air to get a good angle, while operating the machine's foot pedal at the same time. It might have been easier to just stitch the opening up by hand, but I will usually try my machine first to see if I can swing it.
And hey, when that part was over I was ready to try out my cushion! I set it on top of the bench, ran two of the cords through the hinged opening on the front of the bench, and secured my ties on the bench's underside, using two pretty bows:


Voila! Now I have a comfy new cushion for my piano bench!

And, did you notice? Since I seamed up the cushion on the end (instead of on the bottom) the cushion is reversible. If I ever get tired of the paisley fabric, or if it gets dirty, I can just flip the cushion over and use the solid red side.

Perhaps my favorite thing about the cushion, though, is the fact that it is made of upcylced materials - just some extra foam and fabric remnants I had stashed around the house.
That, of course, and the fact that I made it myself! By following these simple steps, you too can make a cushion for your piano bench, or just about anything else that needs cozying up. Go ahead, give it a try - I know you can do it!
No comments:
Post a Comment